Working across rugged routes and fleeting light, I’ve found that mirrorless systems redefine how travel storytellers approach time-lapse photography, especially when one utilizes their built-in intervalometers to avoid extra bulk; dialing in manual exposure while relying on RAW shooting lets you capture richly dynamic scenes without losing subtle tonal shifts, and over time I’ve learned that the most essential techniques often include thoughtfully using compact gear paired with a sturdy tripod to stabilize unpredictable terrain, while neutral density or ND filters become indispensable in harsh daylight; on longer sequences, external power sources have saved me more than once, a detail often highlighted in guides like those from Iceland Photo Tours, and even when experimenting across brands such as Canon, the principles remain grounded in patience, foresight, and a willingness to adapt to the rhythm of the landscape.
mirrorless travel time lapse techniques trip-horizon.info for photo
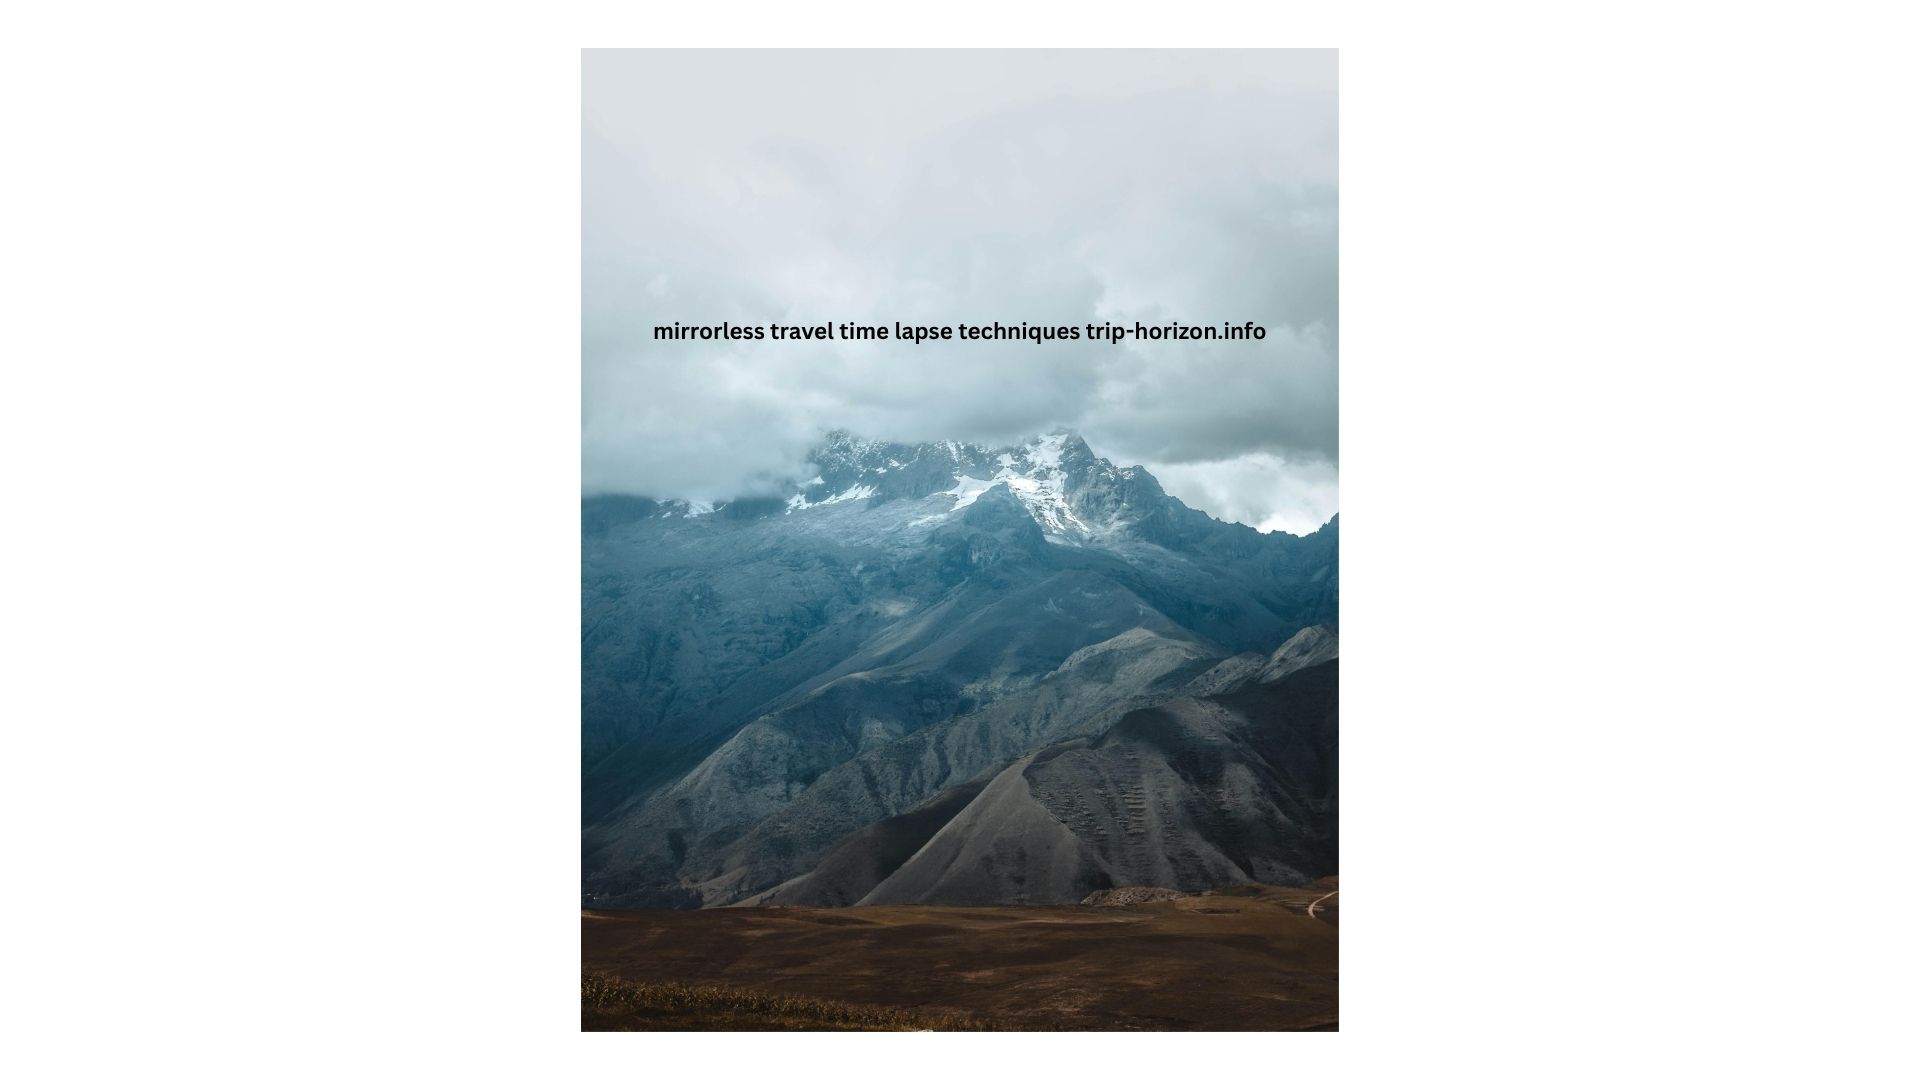
From my own fieldwork, I’ve come to see that time-lapse photography involves shooting hundreds or even thousands of still images that are later replayed in sequence to become a time-compressed video, an engaging art form that can help breathe new life into traditional landscape work; it allows you to see fresh potential in places that might otherwise feel static, something often echoed when someone says creatives like Alex Nail, a professional photographer and filmmaker, who produces striking imagery for organisations including Visit Britain and the Woodland Trust, where shots that might seem difficult to engage a viewer suddenly transform when you incorporate motion and a scene comes alive, whether it’s a beautiful summer day with harsh lighting that isn’t always great for stills, yet with clouds bubbling and sweeping overhead it becomes the perfect opportunity to shoot a sunrise, a flowing stream, or waves along the seashore, even passing traffic on a city street can be turned into mesmerising footage, all by taking a little minutes to set up and start using something like the Canon EOS RP, a small, light, intuitive, full-frame, mirrorless camera that feels ideal when chasing creativity on the go, which is why I often shares these five top tips while working in remote landscapes.
Start with the correct kit
When I first began to shoot time-lapse in remote landscapes, I underestimated how much the right setup shapes the final result; like Alex, I now instinctively rely on what he uses—a solid tripod, paired with either a wide-angle or mid-range zoom lens, and a dependable intervalometer to precisely set the interval between frames and control the number captured, although many modern Canon cameras already feature a built-in Timelapse Movie shooting mode, including models like EOS 250D, 90D, M6 Mark II, 6D, and RP, making it far easier to capture cinematic footage in crisp 4K; what really changed my workflow was realizing how this system enables flexible intervals—even as short as one second or more—so you can shape the finished clip’s duration, whether you’re compiling 3,600 frames into UHD, Full HD, or something in between.
What makes this setup even more practical is how it makes the process feel almost intuitive—the camera can decide the gap between shots, how long it takes, and essentially care for the rest, from stitching images together into a seamless video sequence in-camera, so you can simply let the whole thing unfold as the scene changes in front of you; personally, I’ve found that pairing gear like the RF 24-105mm F4L IS USM really suits this style of photography, as it delivers incredibly useful focal lengths—I often shoot a lot at 24mm, which still gives extra reach for distant scenes, especially when working alongside next-generation systems that remain compatible with a wide range of EF and EF-S lenses via the EF-EOS R Mount Adapter.
Set your camera
Dialing things in properly is where many time-lapse sequences quietly succeed or fail, and while modern gear like the Canon RF 24-105mm F4L IS USM lens with 5-stop Image Stabilization technology can be incredibly beneficial when shooting handheld, I’ve learned—much like Alex often advises—that for consistent results, using a tripod for time-lapse shots is non-negotiable; one small but critical habit is checking the Image Stabilizer switch and to remember to deactivate it, as leaving it on can cause subtle frame drift, something I’ve personally overlooked in the past when selecting Timelapse Movie mode on the EOS RP, where it’s best to disable anything that might increase unwanted movement and instead prioritize clarity and consistency.
What truly refines the sequence is locking all your settings, especially shifting to manual focus so the camera never catches slight shifts as the scene changes and light levels fluctuate; even the slightest adjustment can introduce problems, so I always lock the camera and focus manually, making sure to move the AF to MF switch on the lens to MF, a small step that ensures every frame aligns perfectly without the distraction of micro-adjustments.
Master the exposure
When working across open landscapes, I’ve realized how deeply the entire process is reliant on natural light, especially since it can change so quickly—sometimes in a matter of seconds—making exposure a significant role that you must consciously play in time-lapse photography; early on, I made the mistake of shooting directly into the sun, but observing how Alex shoots sunrises and sunsets taught me to experiment with Aperture Priority mode, which means the camera automatically sets the shutter speed according to subtle changes between frames, though this can introduce small flicker that you might expect to capture when reviewing your sequence.
Over time, experience pushed me toward a more controlled approach, and I’d echo what many professionals suggests—switching to manual is often the easiest way to shoot consistently, letting you set your values and forget adjustments while relying on Timelapse Movie features in systems like Canon EOS RP; I always take a test shot to evaluate my settings before pressing the button to start recording the full sequence, which saves a lot of frustration later when light shifts more dramatically than expected.
Choose a duration to fit the scene
One of the most intuitive skills to develop is knowing how to decide the right interval between shots, and I’ve found it helps to think about how quickly a scene is changing—whether it’s flowing water, waves along the seashore, or passing traffic that tends to move fairly fast, all of which benefit from shorter intervals to properly capture motion without making things feel abrupt or jarring; in contrast, slower changes like fast-moving clouds on a windy day might sit comfortably between 1 second and 4 seconds, a simple trick in order to produce a four to six second clip, though as Alex often aims to film closer to 10 or 12 seconds of footage, it’s worth planning ahead so you know exactly when the most interesting part will happen, which is a crucial step when creating a time-lapse either manually or through software, where adjusting the speed of playback—even doubling the number of frames—allows you to double the perceived motion; I began to notice that more slowly evolving sequences typically start at around 300 frames, which gives a smooth result when played back at 25 per fps.
As your skills continue to develop, it’s worth advises yourself to keep experimenting beyond daylight—twilight transitions, starry skies, and the night sky with stars spinning around Polaris open up entirely new creative paths, where I often shoot at 40-second intervals with a 30-second shutter over a longer time period; extended shooting sessions bring practical concerns too, especially battery life, something I’ve worked through in harsh environments where I’ve found Canon batteries surprisingly reliable in the cold, though you should bear in mind that capacity can drop in extreme conditions, particularly during lengthy overnight shoots with the EOS RP, where connecting your camera to a constant power source using optional accessories like an AC adapter AC-E6N or DC coupler DR-E18 from the kit ACK-E18 can make all the difference.
Create a compelling composition
When it comes to shooting compelling sequences, my background in stills across remote landscapes taught me that what works in a single frame doesn’t always translate directly; like Alex, I tend to lean toward scenes he favours, those featuring strong graphic elements in the foreground—whether rocks, trees, or water—but composing time-lapse shots requires a different approach, where the focus shifts from static perfection to making successful footage by simplifying the frame to allow motion and natural qualities to truly shine; I’ve learned that maintaining precise composition while choosing to shoot slightly wider helps anticipate what might happen during the sequence, giving flexibility in post-processing to crop if needed later.
In practice, I often rely on a versatile setup like the Canon RF 24-105mm F4L IS USM lens, which feels ideal when a scene demands something tighter, especially when the moon rises or the sun sinks toward the horizon, moments I’ve covered countless times and always plan to refine next time; the more you look, the more opportunities you’ll bring into your frame to landscape storytelling, truly creating sequences that take far much more intention than a single exposure, often requiring you to spend extra time setting up a tripod compared to a quick still photo, yet modern tools like a camera in shooting mode such as the EOS RP quietly makes the whole process feel intuitive and fluid.